-
Docs
- Portal
- WE110
- Betriebsanleitungen für Thermostat und allgemeine Fernwirkfunktion
- Betriebsanleitungen fur turund torfernsteuerung
- WE120
- Schnellstart-Anleitung
- Das WE120 mit einem Computer verbinden
- Firmware Aktualisierung
- Betriebsanleitungen
- Befehlstyps manual
- Genesys 3
- Downloads
- FAQ
- WE300
- WE500
- Quick start guide
- Hardware manual
- Software Manual
- Application notes
- Reference cases
- API
- VPN
- WE500R
- Power supplies
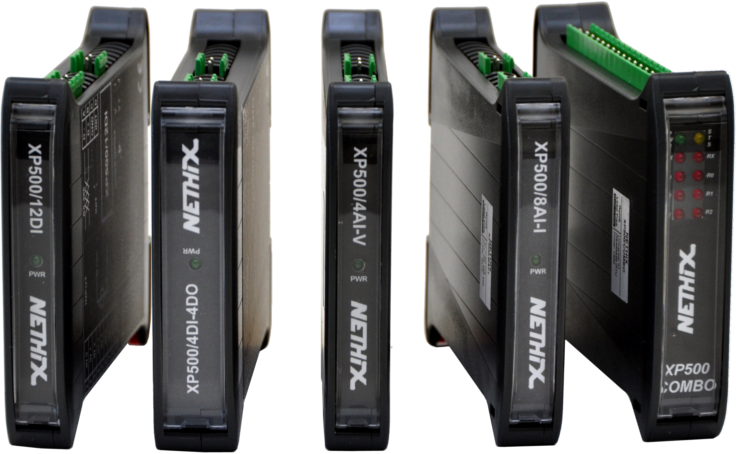
- XP500
- Languages