Thermostat


1. Overview

Note

This is a quick guide for a specific case of configuration.
It is useful for a quick learning curve of the basic operations of the device and for its immediate use.
This document doesn’t cover all the functionalities of the WE120; for any doubts, clarifications or details of the functionalities present in the WE120, refer to the complete guide:

Note

The following instructions help to configure the WE120 in Thermostat mode.
This application note describes how to set up the WE120 to turn a boiler ON and OFF and to maintain the temperature at 24°C. Each minute the WE120 will read the current temperature and it will decide to turn OFF or ON the boiler through a digital input port.

2. Programming

2.1 Mobile application for Android

Note

The application works through the use of SMS, so the profiles of the various registered devices are not update automatically.
It is important to send the data update command to have a consistent state of the devices.

2.1.1 Device Profile

Create device profile

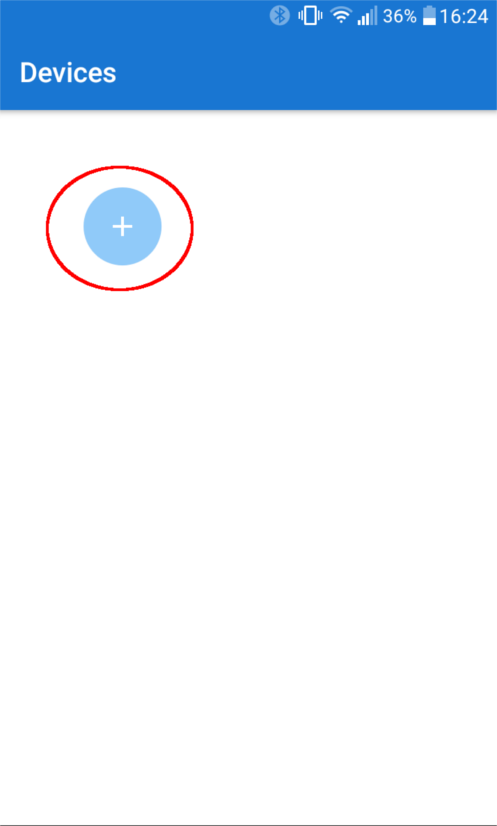
  1. Click the New profile button.
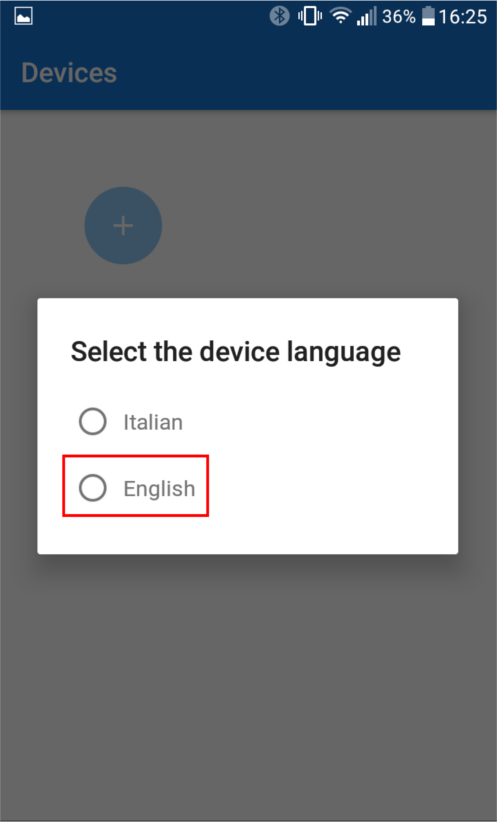
  2. Select the English language.
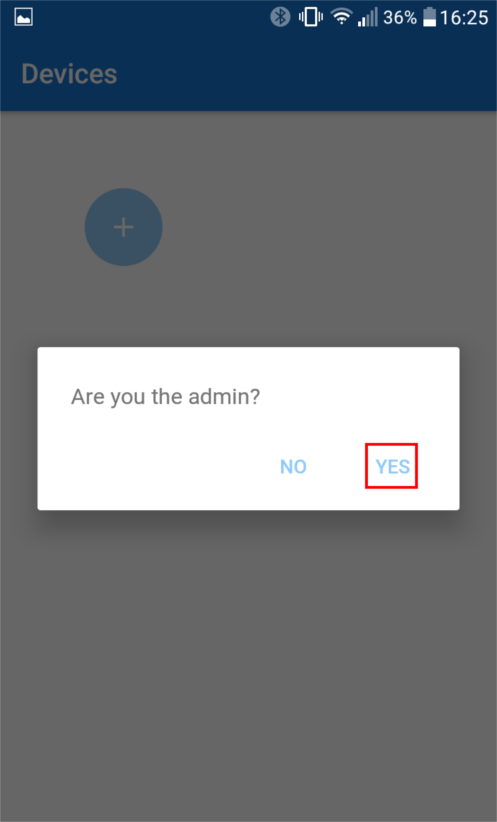
  3. Log in as an administrator.
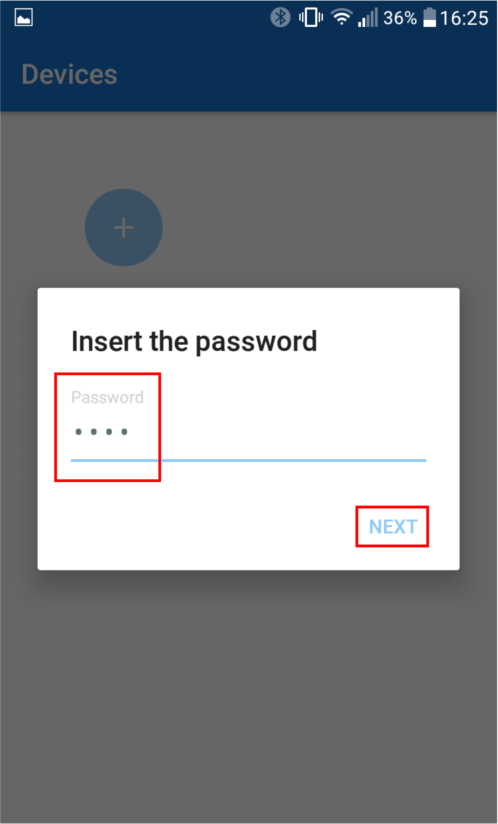
  4. Insert the password: 0000
    Click the Next button.
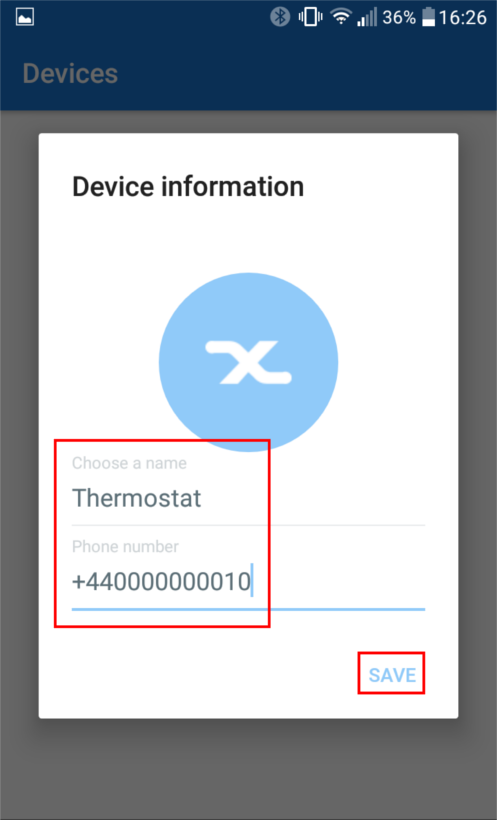
  5. Insert the device’s name: Thermostat
    Insert the device’s number: +390000000010
    Save the new profile.

Note

The number +390000000010 is only indicative for the format to be used.
Enter the correct SIM number in order for the device to work properly.

../_images/appwe120_an_creaz_profilo_01.png ../_images/appwe120_an_creaz_profilo_02.png ../_images/appwe120_an_creaz_profilo_03.png ../_images/appwe120_an_creaz_profilo_04.png ../_images/appwe120_an_creaz_profilo_05.png

Device profile configuration

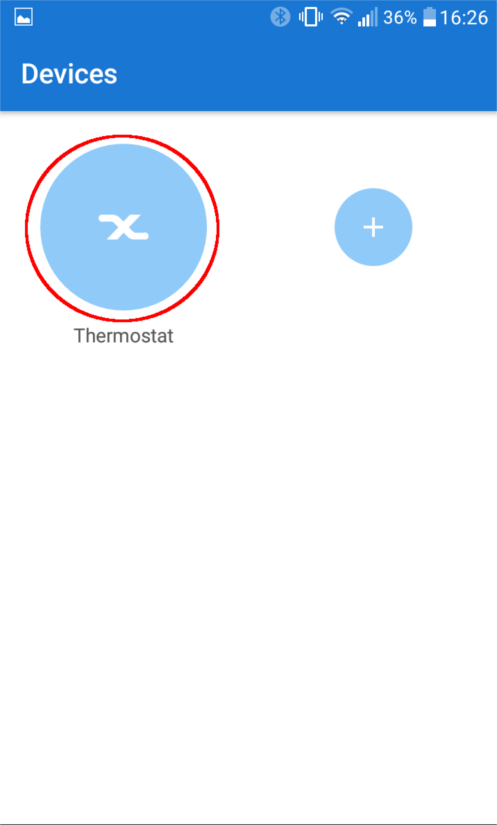
  1. Click the new icon that was created in the main page of the application.
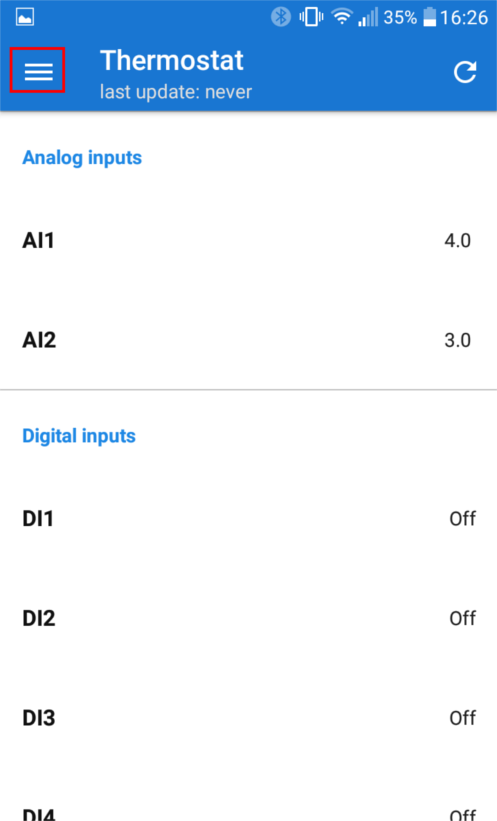
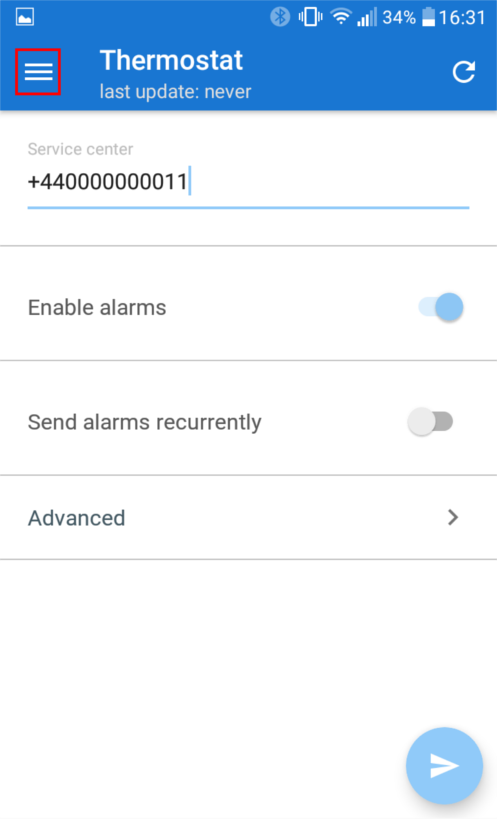
  2. Click on the options menu. It is also possible to enter this menu by dragging a finger from left to right on the screen.
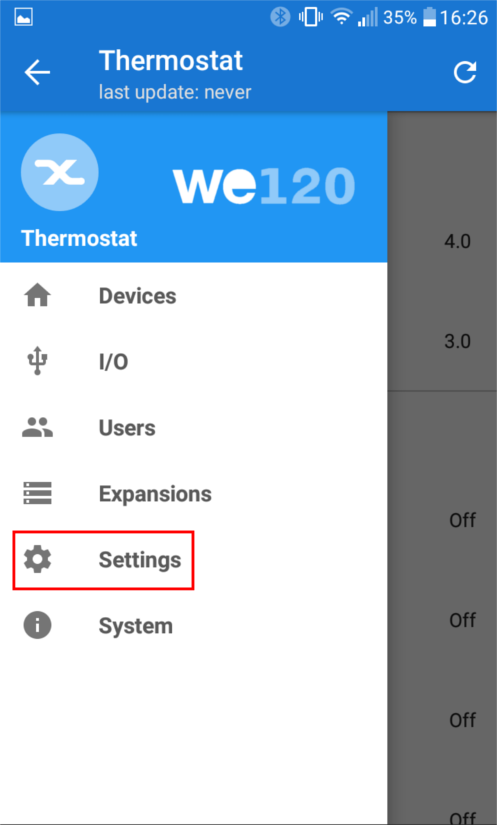
  3. Enter in the Settings page.
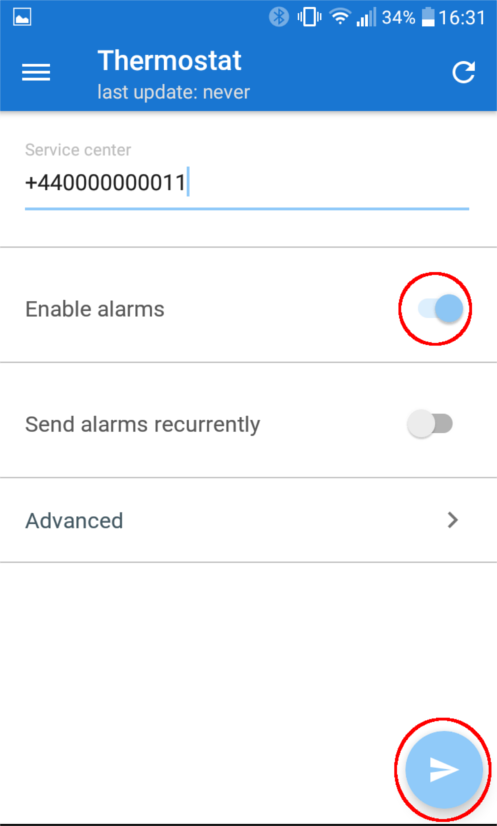
  4. Set the Service center as: +390000000012
    Enable the alarms.
    Save the configuration.

Note

The number +390000000012 is only indicative for the format to be used.
Enter the correct service center number in order for the device to work properly.

../_images/appwe120_an_conf_profilo_01.png ../_images/appwe120_an_conf_profilo_02.png ../_images/appwe120_an_conf_profilo_03.png ../_images/appwe120_an_conf_profilo_04.png

2.1.2 Variables configuration

Configuration of the Analog Input variable

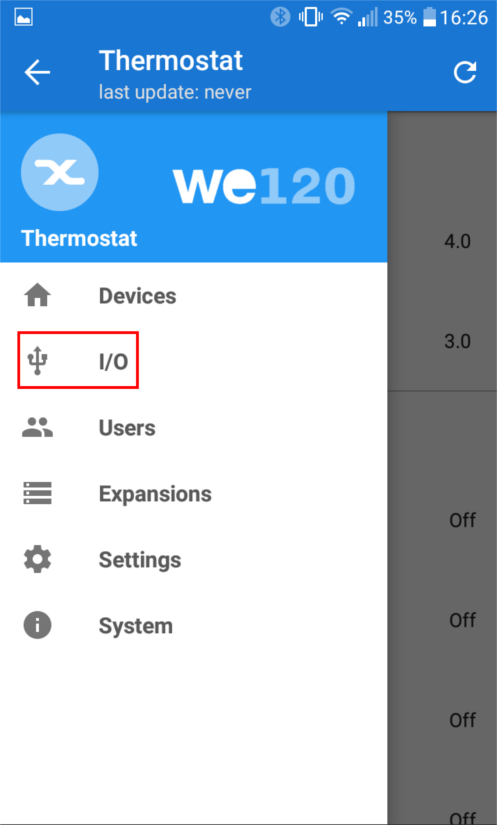
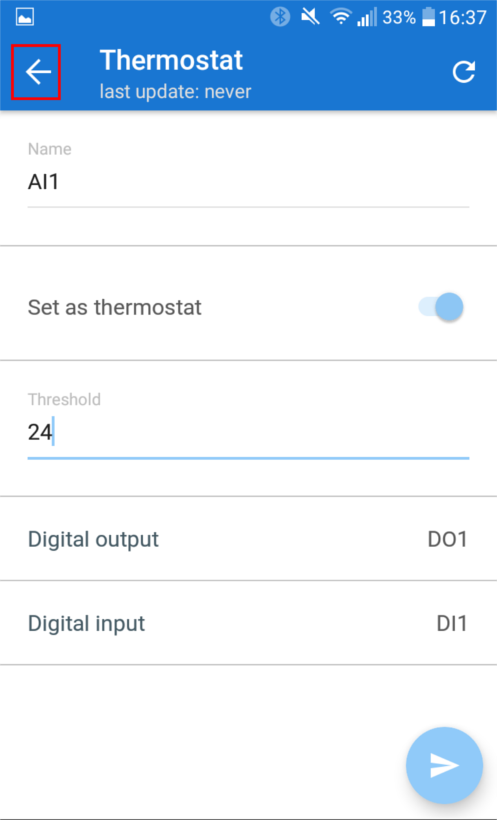
  1. Return to the Options menu.
  2. Select the I/O page.
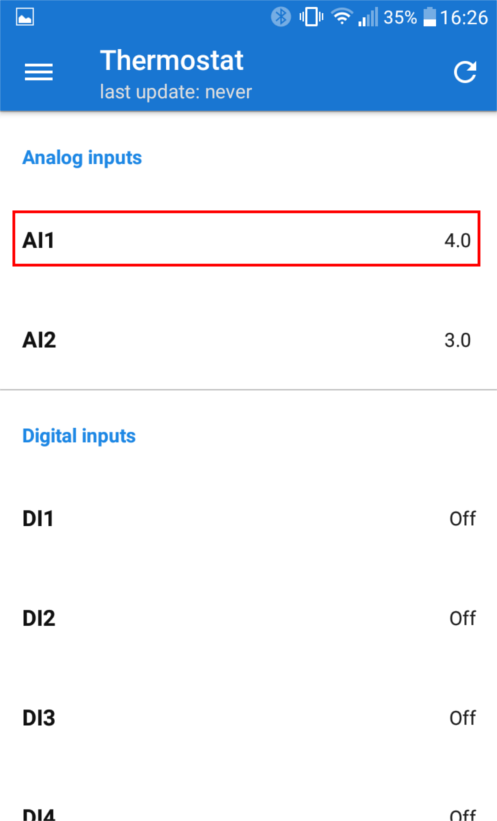
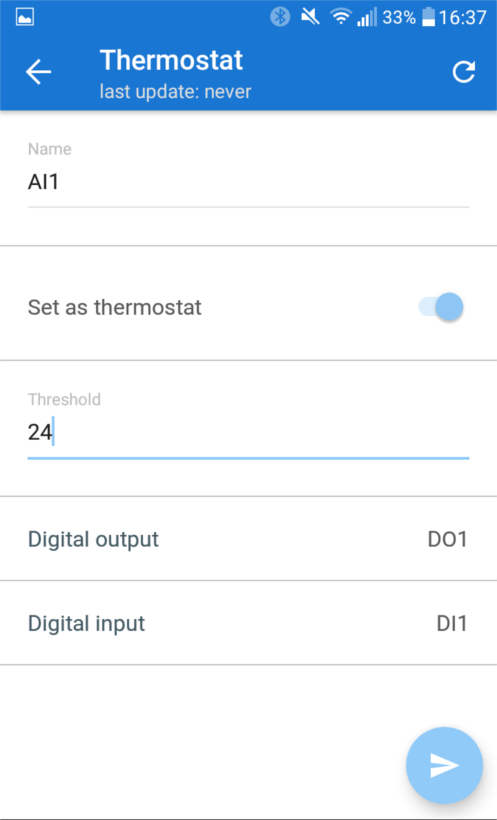
  3. Long press on the AI1 variable to access its configuration.
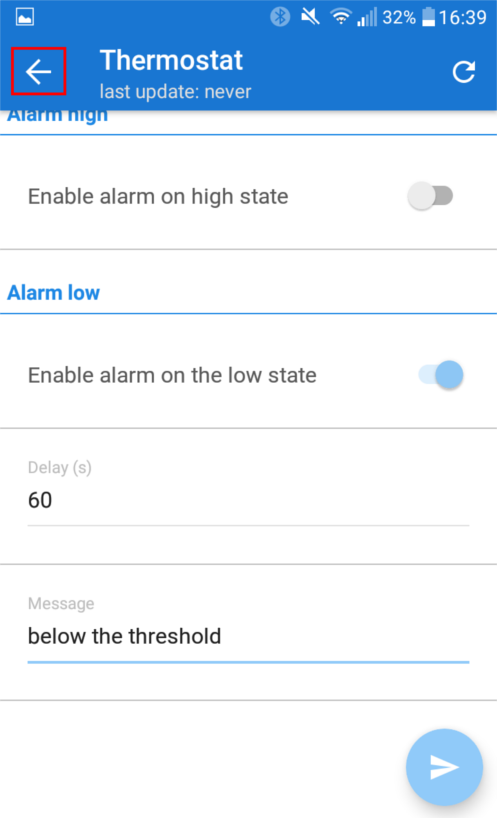
  4. Enable the variable as thermostat and set the threshold at 24°C.
    Set DO1 as Digital Output and DI1 as Digital Input.
    Save the configuration.

../_images/appwe120_an_conf_ai1_01.png ../_images/appwe120_an_conf_ai1_02.png ../_images/appwe120_an_conf_ai1_03.png ../_images/appwe120_an_conf_ai1_04.png

Configuration of the Digital Input variable

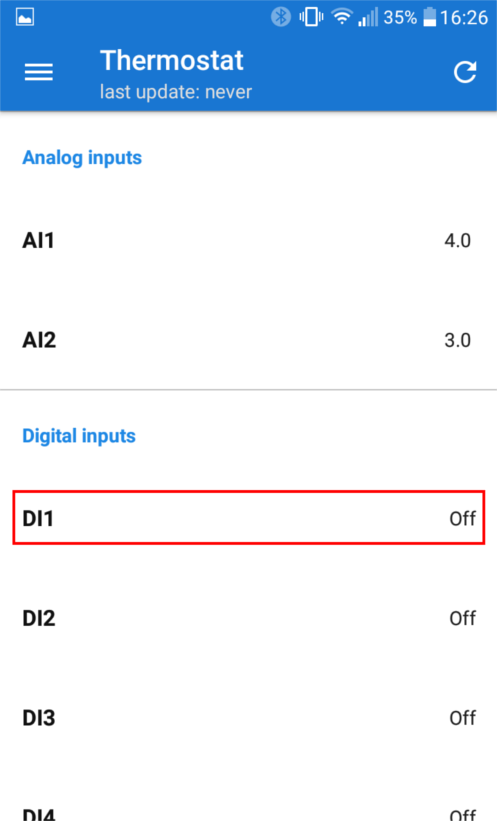
  1. Return to the I/O menu.
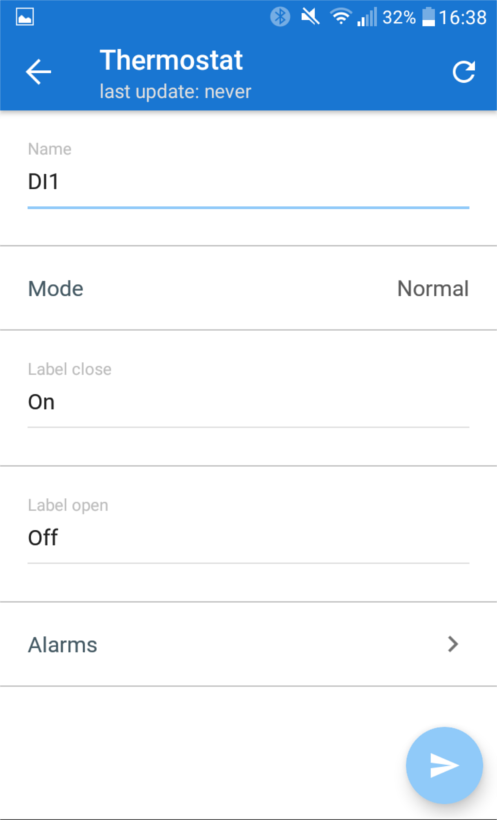
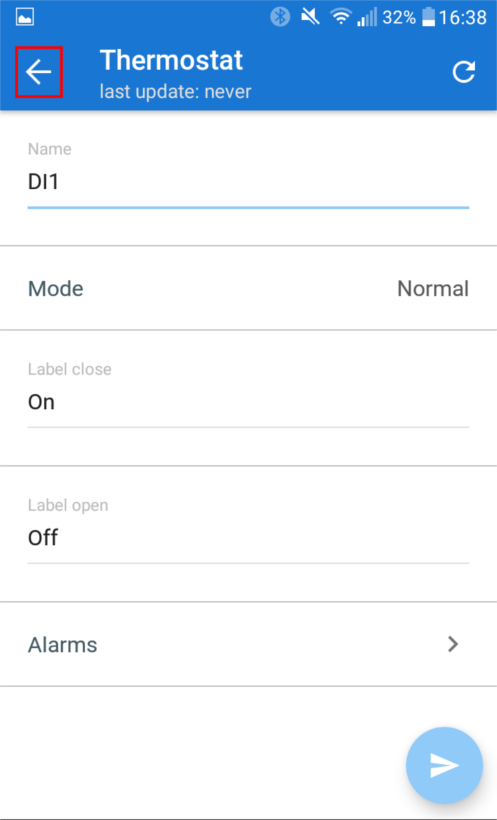
  2. Long press on the DI1 variable to access its configuration.
  3. Keep the default configuration.
    Send the configuration.

../_images/appwe120_an_conf_di1_01.png ../_images/appwe120_an_conf_di1_02.png ../_images/appwe120_an_conf_di1_03.png

Configuration of the Digital Output variable

  1. Return to the I/O menu.
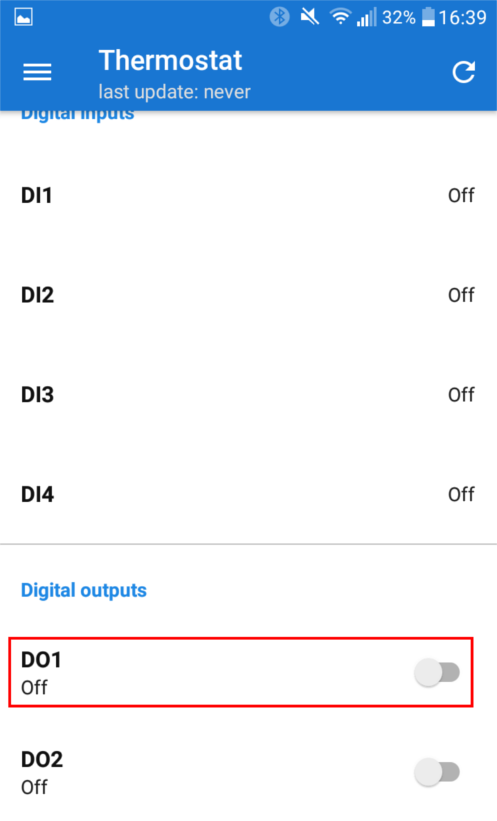
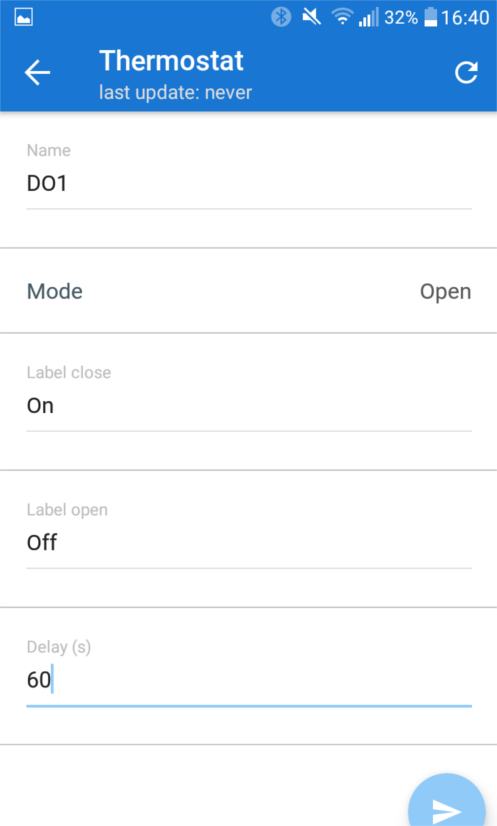
  2. Long press on the DO1 variable to access its configuration.
  3. Keep the default configuration.
    Add a delay of 60 seconds.
    Send the configuration.

../_images/appwe120_an_conf_do1_01.png ../_images/appwe120_an_conf_do1_02.png ../_images/appwe120_an_conf_do1_03.png ../_images/appwe120_an_conf_do1_04.png


2.2 Mobile application for iOS

Note

The application works through the use of SMS, so the profiles of the various registered devices are not update automatically.
It is important to send the data update command to have a consistent state of the devices.
This application helps to create the SMS to send to the WE120 in a quick and easy way.
Sending and receiving SMS are managed by the system for privacy/security reasons.

2.2.1 Profile configuration

Let’s start with the creation of the device profile

  1. Click the New profile button.
  2. Fill the fields of the New profile page, as follow:
    • Name: thermostat
    • Phone number: +390000000010
    • Set as admin: enable
    • Software version: EN
    • Password: 0000
  3. Save and send the configuration.

2.2.2 Administration Configuration

The Administrator user is configured

  1. Fill the fields as below:
    • Username: admin
    • Phone number: +390000000013
    • User type: Admin
    • Alarms enabled: SMS and ring
    • Select the permissions: enable all the variables
  2. Send the configuration.

2.2.3 General configuration

The configuration ends with the general configuration of the device

  1. Drag the finger from the left to the right.
  2. Select General.
  3. Fill the page in the following way:
    • Phone number: +390000000010
    • Send the configuration.

    • Service center: +390000000012
    • Send the configuration.

    • Enable the alarms: Enabled
    • Send the configuration.

    • Send the confirmation message: Enabled
    • Send the configuration.

    • Send message at power up: Disabled
    • Send the configuration.

2.2.4 Variables configuration

The necessary variables are configured

  1. Drag the finger from the left to the right.
  2. Select the I/O option.

Configure the Analog Input variable

  1. Select Thermostat.
  2. Fill the page as follow:
    • Number of Analog Input: 1
    • Name: AI1
    • Threshold: 240
    • Number Digital Output: 1
    • Number Digital Input: 1
    • Send the configuration.
    • Go down in the page.

    • Enable thermostat: Enabled
    • Name: AI1
    • Send the configuration.
    • Go down in the page.

    • Enable send message: Enabled
    • Name: AI1
    • Send the configuration.

  3. Click the Back button, in the upper left corner.

Configure the Digital Input variable

  1. Select Digital Inputs.
  2. Fill the page as follow:
    • Number of Digital Input: 1
    • Name: DI1
    • Mode: Normal
    • Open label: Open
    • Close label: Close
    • Send the configuration.

Configure the Digital Output variable

  1. Select Digital Outputs.
  2. Fill the page as follow:
    • Number Digital Output: 1
    • Name: DO1
    • Mode: Open
    • Open label: Open
    • Close label: Close
    • Delay: 60
    • Pulse duration: 1

  1. Send the configuration.

Now the WE120 is configured as described at the beginning of this document and it is already running in thermostat mode.


2.3 Genesys

2.3.1 Profile configuration

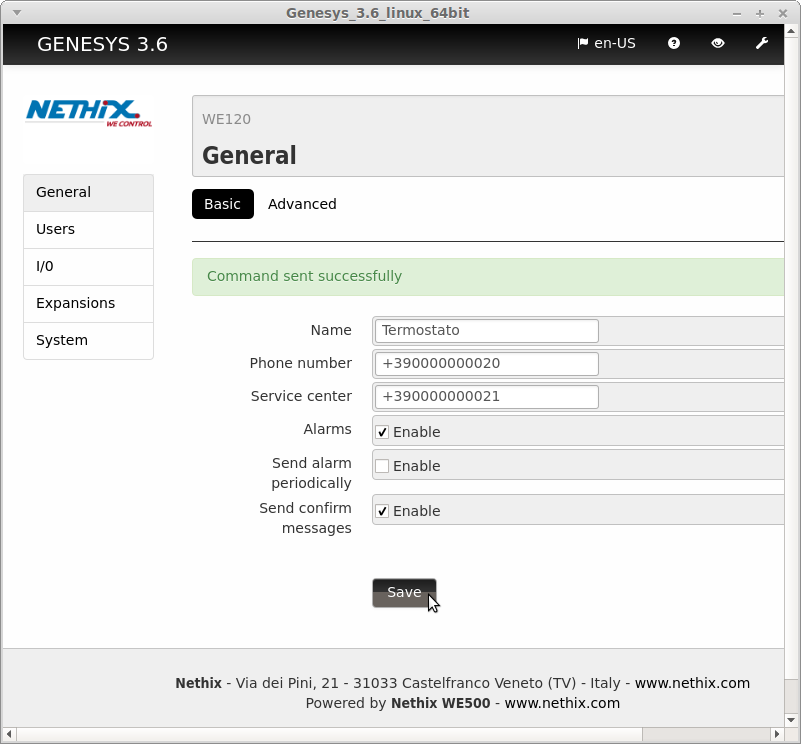
Configuration of the general parameters of the WE120
General → Basic
Name: Thermostat
Phone number: +390000000020
Service center: +390000000021
Alarms: Enable
Send alarm periodically: Disable
Send confirm messages: Enable

Note

The numbers +390000000020 and +390000000021 are only only indicative for the format to be used.
It must be entered the correct SIM number and service center number in order for the device works properly.

../_images/we120_genesys_conf_profilo.png

2.3.2 Analog Input configuration

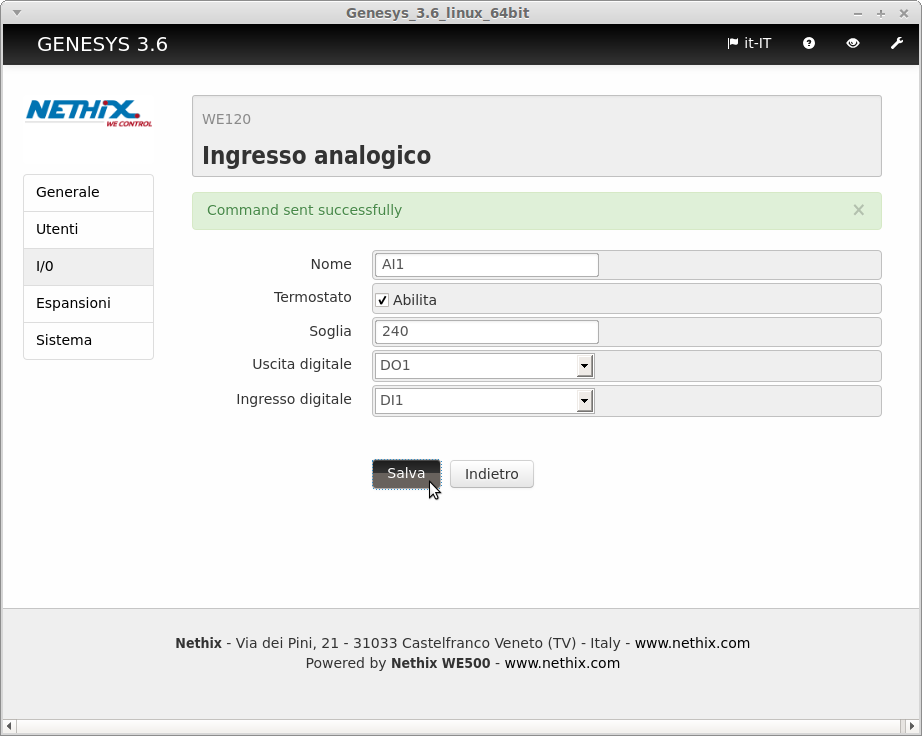
Configuration AI1 variable as thermostat
I/O → AI1
Thermostat: Enable
Threshold: 240
Digital Output: DO1
Digital Input: DI1

../_images/we120_genesys_conf_ai1.png

2.3.3 Digital Output configuration

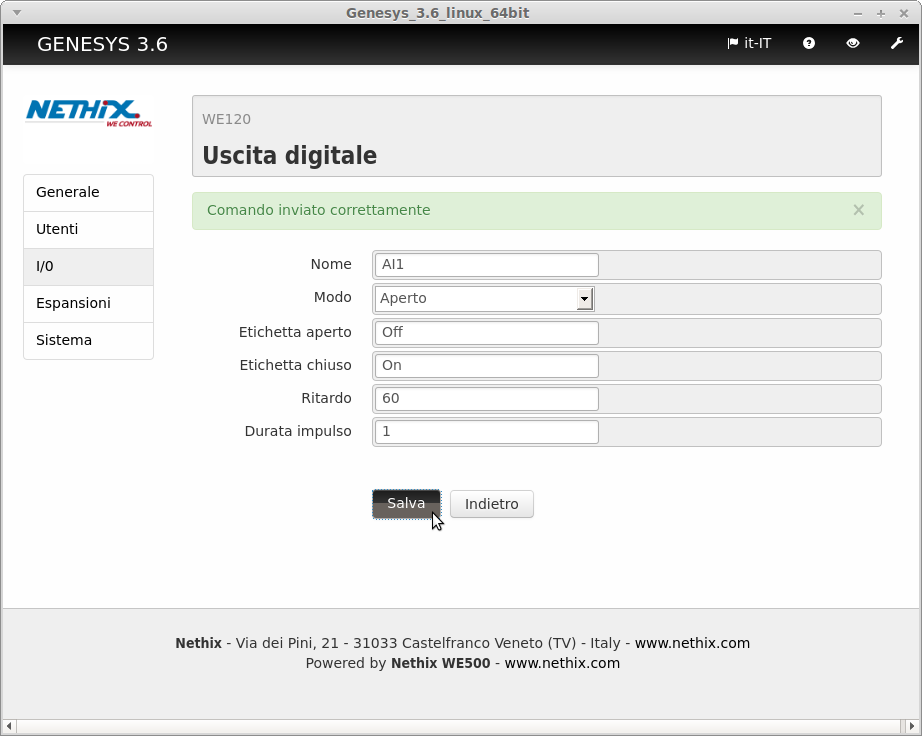
Configuration DO1 variable
I/O → DO1
Mode: Open
Open label: Off
Close label: On
Delay: 60
Pulse duration: 1

../_images/we120_genesys_conf_do1.png

2.3.4 Digital Input configuration

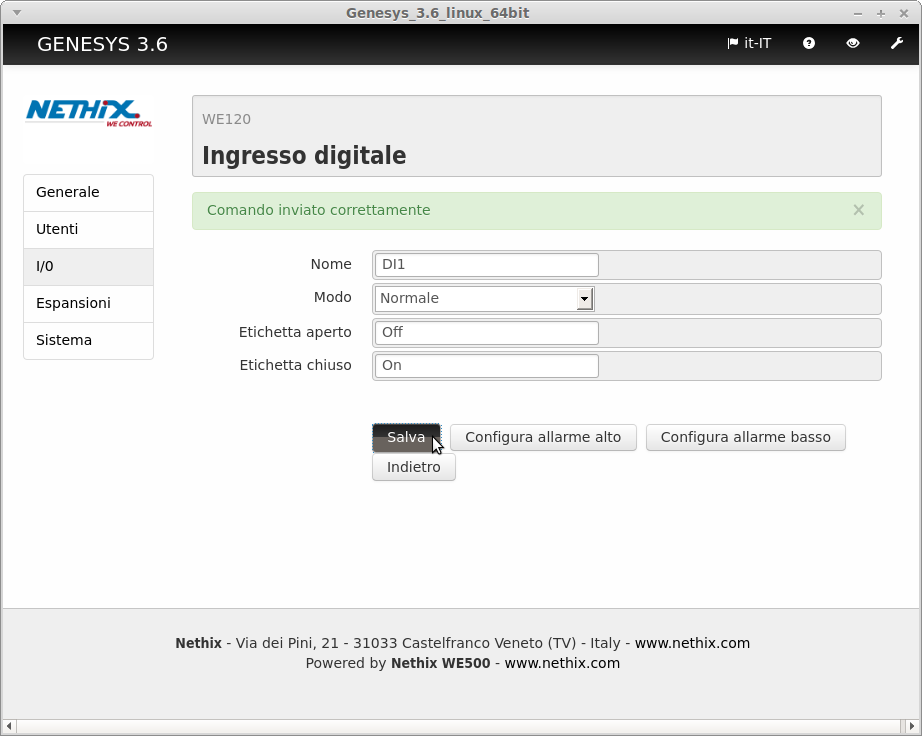
Configuration DI1 variable
I/O → DI1
Mode: Normal
Open label: Off
Close label: On

../_images/we120_genesys_conf_di1.png

Final result
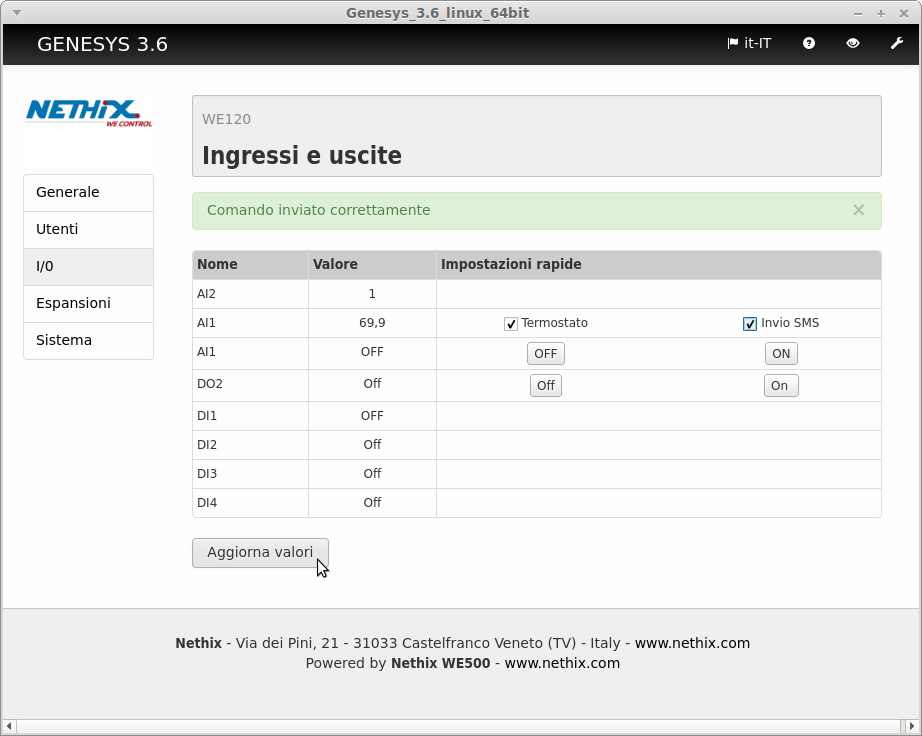
I/O

../_images/we120_genesys_io.png


2.4 SMS commands

The following commands replicate the same result of the configuration made through the mobile application and Genesys.

2.4.1 Profile configuration

Configure the WE120’s profile

Name
Set the WE120’s name
NAME 0000 Thermostat
Number
Set the WE120’s number
NUMBER 0000 +390000000030
Service center
Set the Service center
CENTER 0000 +390000000031

Note

The numbers +390000000030 e +390000000031 are only indicative for the format to be used.
It must be entered the correct SIM number and service center number in order for the device works properly.
Alarm notifications
Authorize to send the status change alarm messages of the variables
ALARM 0000 ON
Conferm Receiving SMS
Enable to send SMS to confirm the command
CONFIRM 0000 ON

2.4.2 Variables configuration

The variables are configured

Digital Input
Configure the Digital Input variable of the Thermostat
CONF DI 0000 1 DI1 NORMAL Off On
Digital Output
Configure the Digital Output variable of the thermostat
CONF DO 0000 1 DO1 OPEN Off On 60 0
Thermostat
Configure the thermostat
SETTHERM 0000 1 Thermostat -500 700 240 1 1
SMS activation Thermostat
Authorize the sending of SMS when the thermostat is activated
MESSTHERM Thermostat ON
Activate Thermostat
Activate the thermostat
THERM Thermostat ON