1. Overview
This document describes how to configure the NAT functionality in the WE500 to allow a remote session between two Windows 10 PCs using a remote desktop application such as TeamViewer.
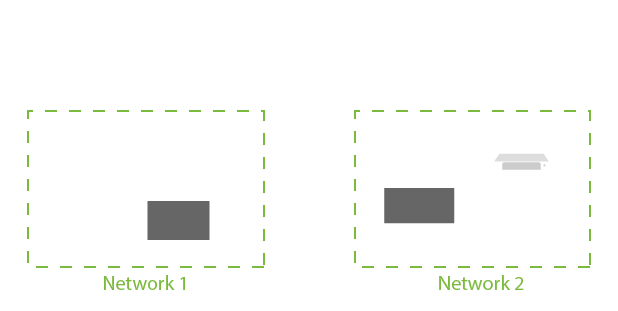
The first PC, called Host A, resides inside a LAN that has internet connectivity thanks only to the WE500 3G connection that has the NAT functionality enabled in the 3G network interface. The physical connection between the WE500 and the PC can take place directly through an Ethernet cable or using a switch to which other devices or PCs can also be connected.
The second PC, called Host B, resides inside an office LAN with a standard ADSL connection.
The following image describes how the different elements are physically connected between them:
An operator in Host B needs to execute several maintenance tasks in Host A.
Host A has TeamViewer running while the operator in Host B will connect to Host A as the TeamViewer client.
Note
Notice that this Application Note describes an example that uses TeamViewer, but other remote desktop applications, such as VNC, could be used as well.
3. WE500 configuration
Before configuring the WE500, consider that a SIM card with a data connection plan is needed. Check also that the device is connected directly to the PC using an Ethernet cable or through a hub or switch. Power on the WE500 and log in.
The following procedure describes the WE500 configuration:
- After logging in the WE500, go to the Networking -> Interfaces -> Modem menu.
- In the Connection Mode section, select the Enable checkbox and set the default Mode as Always On. This will allow the WE500 to have a permanent 3G connectivity.
- In the SIM configuration section, enter only the APN and click the Save button. For TIM Italy, enter ibox.tim.it
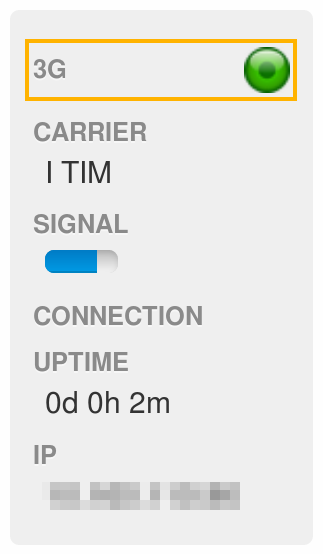
- After several seconds, the HSPA icon in the Status Panel at the right will become green.
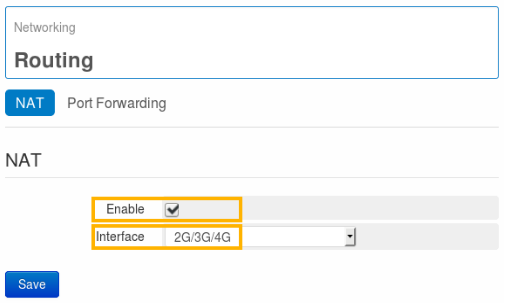
- Go to the Networking -> Routing -> NAT menu.
- Select the Enable checkbox and select the 2G/3G/4G interface and click the Save button. This will enable the NAT functionality in the HSPA data interface.
At this point, the remote desktop application can be executed in both hosts. In the TeamViewer case, execute it in Host 1, then in Host 2 and enter the credentials of Host 1.
The screen of Host 1 should now be displayed in Host 2: