Quick start guide
1. Overview
This document provides the necessary information for starting-up the device and log in into the web interface.
Further information regarding the web interface and the functionality of the WE200, can be obtained from the official WE200 documentation.
2. Inserting the SIM card
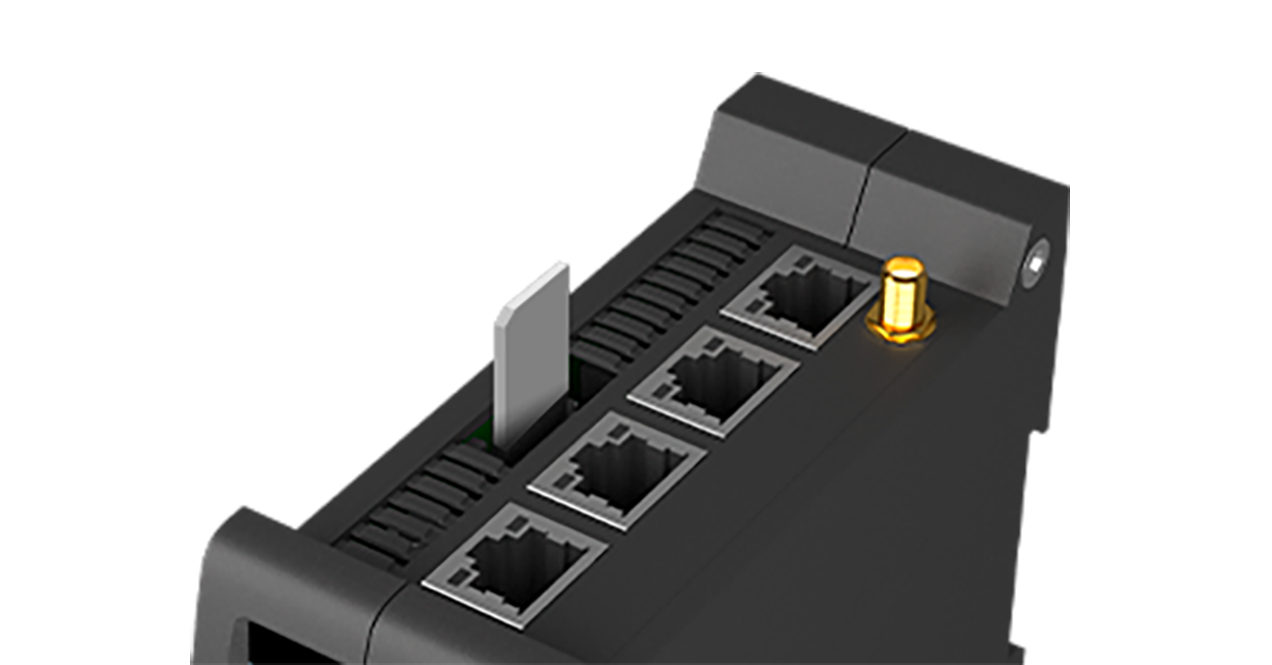
Connect the antenna and the RJ-45 Ethernet cable to the proper connectors.
Be sure that the device is not powered before inserting the SIM card.
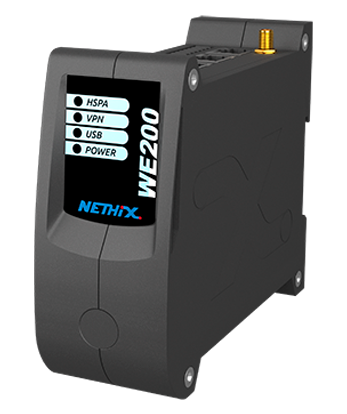
Whith the device turned-off, insert the SIM card as shown in the image.
3. Turning-on the device
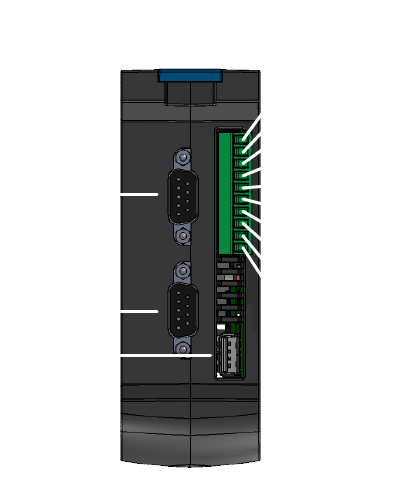
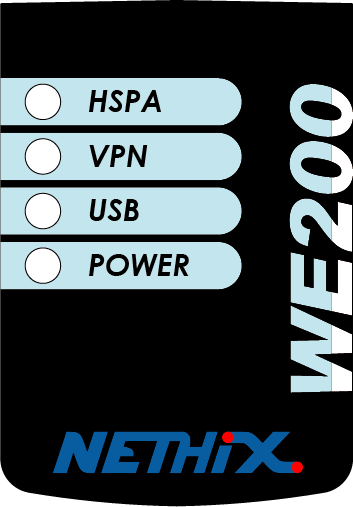
Connect the power source (12-24 VDC /1 A) to the terminal +Vin e GND. After ~10 seconds the Power LED will be turned on and the MODEM LED will start blinking.
After ~40 seconds, all the application and services will be active and the web interface will be reachable.
After ~30 more seconds, if previously enabled, the HSPA/GPRS service will become active and the HSPA LED will turn on. The services that depend on this connection will be active.
4. Logging in
The default network configuration for connecting to the WE200 is:
- IP address: 192.168.1.160
- Netmask: 255.255.255.0
- Gateway: 192.168.1.1
- Dns: 8.8.8.8
It is necessary that the PC used for connecting to the WE200 belongs to the same network 192.168.1.x.
For connecting to the WE200, use a standard web browser and enter the following address in the URL bar:
192.168.1.160
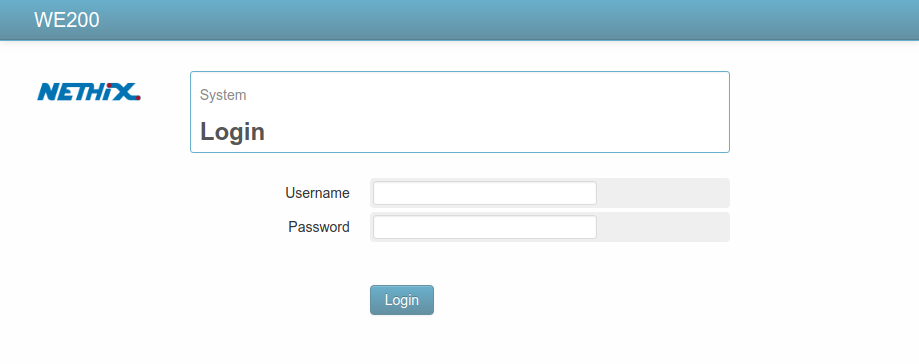
The authentication procedure of the web interface will ask for the user credentials.
The default username and password are the following:
- Username: admin
- Password: admin
Hint
It’s strongly recommended to change the default password after the first login.